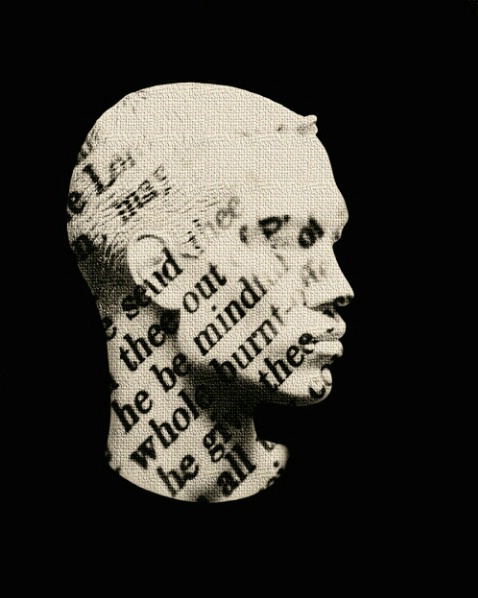
photosbysharon.com: Tips / Articles


How to Make White Light Red


by Sharon E. Lowe

White Lights
White Lights

Open your image and then duplicate the background so you will always preserve your original. (On the menu bar, it is Layer/Duplicate Layer and in the layer palette, you just drag a copy of the background to the create new layer icon)

On this duplicate layer, select the part of the image you want to change - the white lights in this case. You can use several tools to do it - the magic wand, the lasso, etc. In this example, there is a reasonably defined area so, the lasso tool works well. Use the lasso tool to select the first light and then on the menu bar, change your lasso tool so that it is “adding to the selection” (by pressing the second icon from the left on the menu bar). After you get a reasonable selection, on the menu bar, press Select/Modify/Expand and expand your selection by 2 pixels. Finally, press Select/Feather and feather your selection by about 5 pixels.


Selected lights
Selected lights

On the menu bar, press Layer/New/Layer via copy (Ctrl j on a PC or Command j on a Mac). You now have a layer with just the lights. I suggest renaming the layer to “lights” so you’ll know what it is any time you pull up the file. To rename it, double-click on the name in the layer palette and type in the new name. (If your layer palette isn’t showing, on the menu bar, press Window/Layers (or F7 for the shortcut). We’re creating this layer because we only want to change the lights, not anything else in the image.

From the menu bar, press Layer/New adjustment layer/Channel mixer. When the New Layer window pops up, place a checkmark in the box for “Use previous layer to create clipping mask.” By making this selection, the adjustment layer will only affect the layer we just created with the lights, not all the other layers. Keep everything else the same and press okay.


After pressing okay, the channel mixer window pops up. Intuitively, you might think all you need to do is adjust the red channel to get a nice red color in the light, but that isn’t the case. Since white light, which is what we’re seeing on our monitors, is made up of equal parts red, green, and blue light, we have to adjust all the channels to come up with a good bright red, glowing light. Our images are actually made up of six colors - red, green, and blue plus yellow, cyan, and magenta. Adjusting just the source channels in the red output channel affects the amount of cyan and red in our image because in the RGB model, cyan is the “opposite” of red. If you play with the sliders for the red output channel in the channel mixer window, you would see that the white in our image becomes cyan. Adjusting just the source channels in the green output channel affects the amount of magenta and green in our image - the white becomes magenta in this output channel. Adjusting just the source channels in the blue output channel affects the amount of yellow and blue in our image - the white becomes yellow in this output channel.


Red Lights
Red Lights

So, how do we get a nice red light. The easiest way is to adjust all of the sliders in the green and blue output channels to 0 while keeping the red slider in the red output channel at +100% and play with the green or blue sliders in that channel to increase the amount of red glow. I thought the red was too intense and flat looking so I did a bit more playing with the channel mixer to come up with a light I thought looked more realistic.


Rather than starting with the red output channel, I started with the green output channel to get a nice bright magenta light. In this example, again, in the green output channel, I set the red slider to -50% and the green slider to +50%. Then, I went to the blue output channel and set the red slider to -75% and the green slider to +15%. I have a nice red color now but I want it to really glow. So, I went back to the red output channel and played around with the red, green, and blue sliders. I settled on the red slider at -60%, the green slider at +200%, and the blue slider at 100%. This set of percentages gave me what I thought was a nice realistic red glow around the lights.


The most important thing to keep in mind with the channel mixer is to just play with it keeping in mind which colors are affected by each channel. You can make lots of color changes in your image by using the channel mixer.

I owe a special thanks to Collin Clack (www.ceeceeimages.com) for allowing me to use his image of the streetlights for this article.